Widget Channel
Using the WidgetChannel class in Syn.Bot.Channels framework developers can easily add a Virtual Chat agent to their ASP.NET websites. This is achieved by using the class library Syn.Bot.Channels in your project and requires that you are working on an ASP.NET website project that targets .NET Framework 4.5 or above.
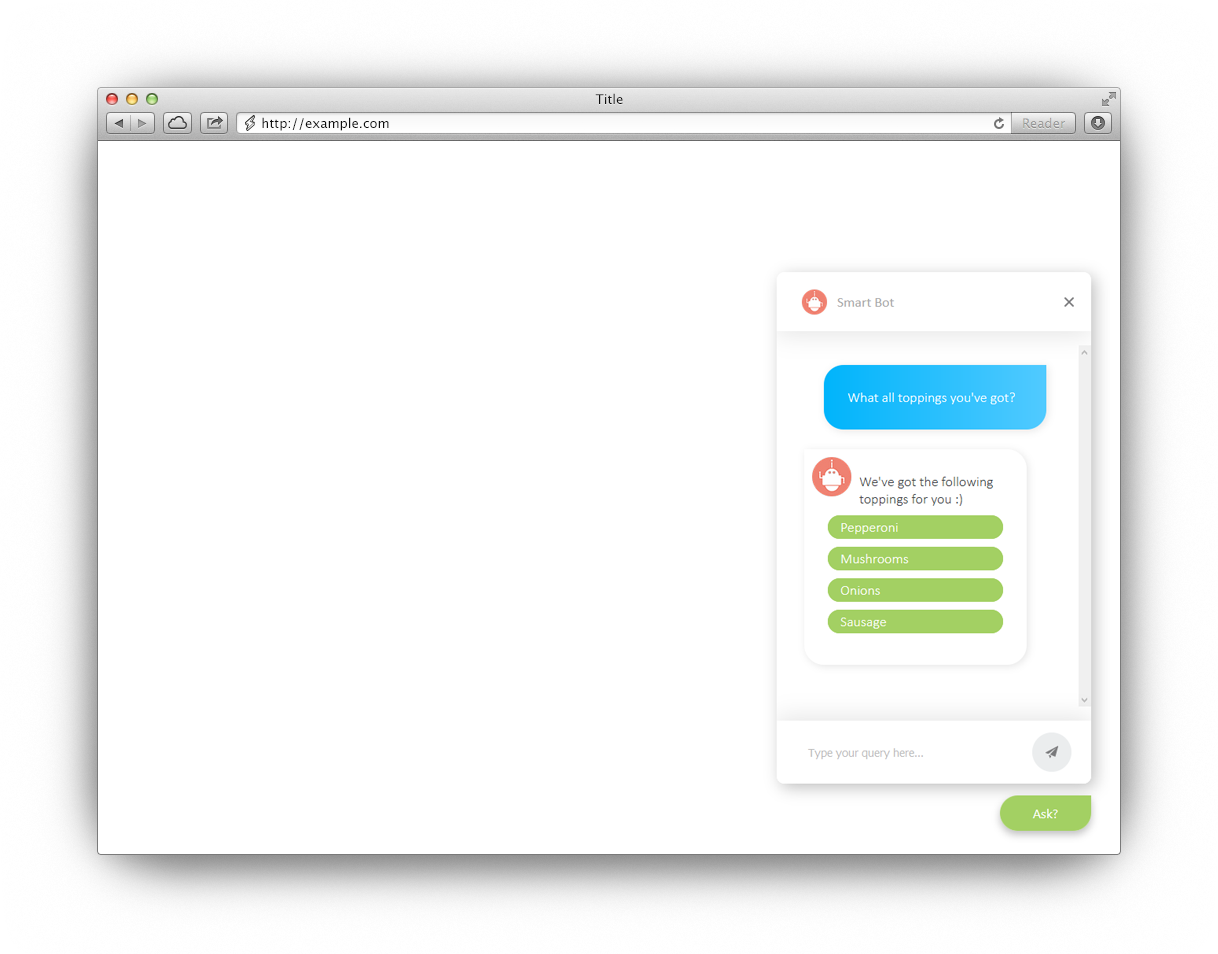
The best part of using the framework is that it automatically provides configuration of a service URL that can be used to fetch the CSS, JavaScript and HTML elements for displaying and interacting with your Virtual Chat Agent dynamically.
Note
Starting from version 1.0.3 the older implementation WebChannel is obsolete and is succeeded by WidgetChannel. In order to continue using a widget on your website to interface with SIML Classic or OSCOVA Bot, developers have to migrate to WidgetChannel.
How it works
A web form is added to your ASP website project and all the HTML elements are removed from the .aspx page except for the first line that defines CodeFile to be used. The name of this aspx page is set to BotService.aspx and will be used as a service URL to interact with the underlying bot which may be powered by SIML or OSCOVA.
The same page will also serve as the URL to fetch the CSS, JavaScript and HTML elements to be included in your web page once its loaded. Inside the CodeFile we define a static constructor that will initialize the default values for the Chat agent to use. Finally in the page load constructor we write 1 line of code that passes the Request and Response objects to the Widget channel which in turn evaluates the URL variables and returns the appropriate response with the proper headers.
Requirements
- ASP.NET Website targeting .NET Framework 4.5 or above
- Your website should be hosted on a Virtual Private Server (VPS) or a dedicated server and should not be running on shared-hosting.
- 256 MB or more RAM available on server side. Memory requirement is directly proportional to knowledge-base size.
Note
To use the widget channel in your website, we highly recommend that you host your website on a VPS or Dedicated server.
Getting Started
Before you begin download the WidgetChannelSample project files from GitHub. Throughout this tutorial we will assume that you are working on ASP.NET project using Visual Studio 2017 or above.
Importing the NuGet Package
To import Syn.Bot.Channels framework to you project follow the steps below.
- In Visual Studio click on Tools select NuGet Package Manager and choose Package Manager Console
- Type
Install-Package Syn.Bot.Channelsand press Enter.
Once done, the required class library along with Syn.Bot framework will be added as a reference to your project.
Creating the Service URL (BotService.aspx)
Now right click on your project, choose Add->New Item… and select Web Form. Name your web form BotService.aspx. This page will now serve as the service URL. Of course you can create an asmx or WCF service as well but for demonstration we will stick with an aspx page.
Double click on BotService.aspx item in solution explorer and remove every line except the first line which should look something like the following.
<%@ Page Language="C#" AutoEventWireup="true" CodeFile="BotService.aspx.cs" Inherits="BotService" %>
Now right click on BotService.aspx and paste the following code depending on the architecture of your choice.
Note
The following examples show how developers can either using OSCOVA (optionally SIML Modern) or SIML Classic.
Using OSCOVA
using System;
using System.Web;
using System.Web.UI;
using Syn.Bot.Channels.Testing;
using Syn.Bot.Channels.Widget;
using Syn.Bot.Oscova;

namespace WidgetChannelSite
{
    public partial class ChatService : Page
    {
        private static WidgetChannel WidgetChannel { get;  }
        static ChatService()
        {
            var bot = new OscovaBot();
            WidgetChannel = new WidgetChannel(bot);

            //Add the pre-built channel test dialog.
            bot.Dialogs.Add(new ChannelTestDialog(bot));
            bot.Trainer.StartTraining();

            var websiteUrl = HttpContext.Current.Request.Url.GetLeftPart(UriPartial.Authority);
            WidgetChannel.ServiceUrl = websiteUrl + "/BotService.aspx";
            WidgetChannel.ResourceUrl = websiteUrl + "/BotResources";

            WidgetChannel.ExportResources(@"D:\WidgetResources");
        }

        protected void Page_Load(object sender, EventArgs e)
        {
            WidgetChannel.Process(Request, Response);
        }
    }
}
Finalizing
Now that we have added the BotService.aspx along with its code and all the files required in the right directory, the last step is to add a simple JavaScript to the master page of your ASP Website Project so that the bot widget is visible on every page of your website. To do so paste the following code just before the </form> tag in your master page.
<script type="text/javascript">
    (function () {
        var scriptElement = document.createElement('script');
        scriptElement.type = 'text/javascript';
        scriptElement.async = true;
        scriptElement.src = 'http://YOUR_WEBSITE_URL/BotService.aspx?Get=Script';
        (document.getElementsByTagName('head')[0] || document.getElementsByTagName('body')[0]).appendChild(scriptElement);
    })();
</script>
In the above code replace YOUR_WEBSITE_URL with its respective value say www.example.com
Customizing Resources
With the WidgetChannel you can now customize Stylesheet, JavaScript and even the HTML layout. To do so you will first have to export the internal resources to an existing directory as shown below and then make the necessary changes to the files.
WidgetChannel.ExportResources(@"D:\SOME_EXISTING_DIRECTORY");
Note
File names of the exported resource files should not be changed if you plan to use them with the Widget Channel.
You can replace the Avatar with your own custom avatar but make sure that you use .png file format if your wish to have a transparent background and also use the similar resolution as used by the avatar images in the sample project.
Variable Names
The widget channel uses simplistic variable names in square brackets to replace string values in resource files. The following are the variables and the file names where they reside.
| Variable Name | File | Description |
|---|---|---|
{{SERVICE_URL}} |
Bot.js | The service URL that is called. |
{{CSS_URL}} |
Bot.js | Internally set URL for getting CSS content. |
{{HTML_TEMPLATE}} |
Bot.js | The html content that gets embedded on load. |
{{LAUNCH_BUTTON_TEXT}} |
Bot.js | The text value of the launch button. |
{{BOT_AVATAR_IMAGE}} |
Bot.css | Link the Bot's avatar image file. |
{{CLOSE_BUTTON_IMAGE}} |
Bot.css | Link to the close image file. |
{{SEND_BUTTON_IMAGE}} |
Bot.css | Link to the Send button image file. |
{{WIDGET_TITLE}} |
Bot.html | Title of the widget. |
{{INPUT_PLACEHOLDER}} |
Bot.html | Placeholder text of the input box. |