Syn Workspace
Workspace is a multi-purpose flow-based programming platform developed to enable developers to leverage on FBP technology and create custom application logic without having to hard-code or script in any programming language.
Apart from RAD (rapid-application-development) it boosts code-reusability and application stability as a node once built and imported into Workspace can be used regularly.
There are 2 components to Oryzer Workspace.
- Oryzer Studio - Which a provides a sleek flow-based programming interface for developers to build their application logic.
Syn.Workspace- A platform independent class library to create custom nodes and to import the logic in custom apps. The class library can be imported into your project as aNuget Package.
The architecture of Workspace has been designed with simplicity in mind. A Workspace comprises of the following elements.
- Nodes
- Connections
- Ports
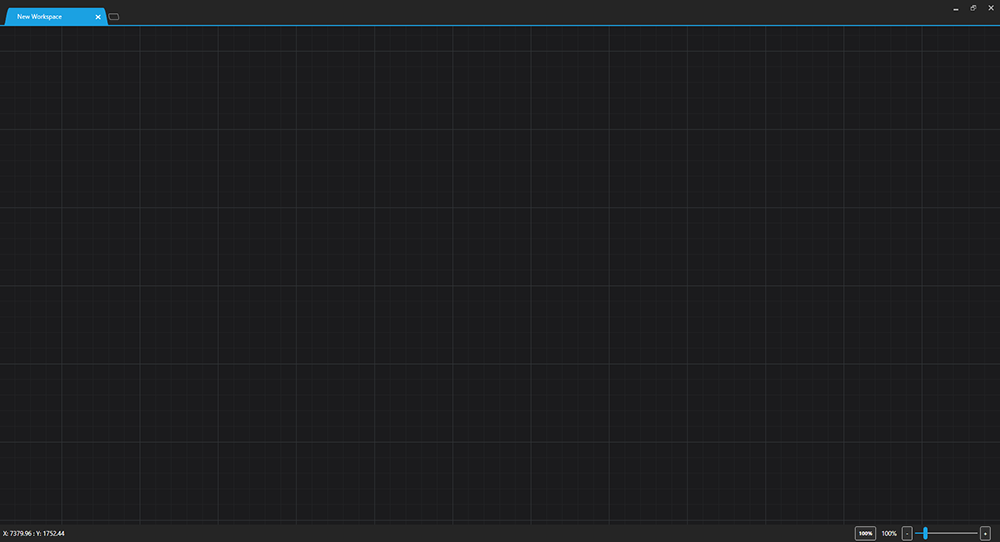
The workspace itself serves as a canvas where all the workspace elements reside.
Workspace
The overall outlook of Oryzer Studio was designed keeping learning curve in mind. We wanted developers to learn interacting with Oryzer Studio in the shortest time interval possible. For this we've followed a sleek and minimalistic design architecture.
A workspace is a graph where you'll be spending majority of your Flow-based-programming time. It's where everything resides together. All nodes and connections are laid down in the workspace. When a node is dragged on to a workspace the node receives its parent workspace information and its position within the graph.
You add and move nodes within a workspace and you connect nodes (via ports). A workspace stays static without doing anything when nodes are connected. As a rule of execution, a trigger can only start inter-connected nodes to perform their tasks. This trigger is usually an event generated on a action.
Node
A Node is a basic functional unit in a workspace. It is responsible to perform a specialized task by exposing the required input data via input ports and generate an output (if required) on the output port.
Note
All nodes in a Workspace should inherit the Node class. This base class takes the Workspace itself as a constructor argument and initializes procedures to understand the node ports setup.
An input port of a node can be of any object type. When a connection is established to an input port the output of a node is sent to the input port of the receiver node.
A node must not perform a task or generate an output until it has received a trigger of some sort. An Exception to this case can be when a node returns itself as an output.
Tip
By convention and to follow the design architecture, a node should only perform a single task. If a node is meant to perform multiple tasks then the functionality should be broken into multiple nodes to serve the purpose. This approach enhances flexibility by decoupling algorithms and encourages a modular design.
Adding Nodes
A Node is a functional unit within a workspace that performs a specialized task. To add a node to a workspace simply click on the node in Node Explorer and drag it to a position within the workspace where you wish to place the node. Upon releasing your mouse button an instance of the node is created and placed within the workspace.
Port
A port of a node is meant to either hold a required data or to send a data out as an output to other nodes.
There are 2 types of ports:
- Input Port
- Output Port
An Input Port holds data that is required by the node to process some information and generate an output if required.
An Input port can be of the following type:
- Object - Holds some object value.
- Event Handler - Handles an event when triggered.
An Output Port holds data is meant to be sent to other receiving nodes. A node may or may not have an output port based on the nodes functionalities.
An Output port can be of the following type:
- Object - Returned value of the node.
- Event - An event that is invoked by the node when any value or state changes are detected.
For example, when a button is pressed a ButtonClicked event can be invoked.
Note
Whenever the data in the Output Port of the From Node changes, this data is immediately sent to the Input Port of the To Node.
Once data is received on an input port, Workspace calls the Evaluate() method on the node to indicate that an input port value has changed.
Evaluate() method is called in any of the following conditions:
- When an input port value is changed
- When an input port receives a new connection
- When an input port's connection is removed.
Connection
A connection is what links 2 ports together. It enables flow of data from output ports to input ports. A connection has 2 parts to it:
- From Port - The output port of the child node
- To Port - The input port of the parent node.
When a connection is established the initial value of the From Port is passed to the To Port. If a value is set on the From Port then the value is passed to the To Port. In short, any change in the From Port gets reflected on the To Port.
When a connection is removed the To Port will receive a default value for the object type it represents. This can be null for many object types.
A connection can be established between following port types:
- Object to Object
- Object to Collection
- Collection to Collection
- Event to Event Handler
Connecting Nodes
Connecting 2 nodes binds their output and input ports. A connection is only possible between compatible port types. To create a connection click on the required port and drag it to the input port of the receiving node and release the mouse button.
Once a connection is established any change in the output port of the first node will reflect in the input port of the second node.
Pan and Zoom
To pan around the workspace graph area simply press the middle mouse button and drag. To zoom you can simply scroll forward or backward to zoom in and zoom out of the workspace.
Save or Load a Workspace
To save a workspace simply right click and select Save Workspace As... and specify a file name. Similarly to load a workspace simply right click and select Open Workspace.
To create a new workspace simply press the button next to the last workspace tab.