SIML Interface
Oscova has an in-built interpreter for parsing SIML Modern documents. It enables developers to create an abstraction between intents and associated actions.
Important
SIML (Classic) has reached its End-of-life (EOL). SIML Classic is now obsolete and SIML Modern is being considered for deprecation by the end of the year 2021. We highly recommend that you start migrating to Workspace a flow-based programming interface.
Note
You can use Oryzer Studio for SIML Modern Development by simply connecting SIML nodes to the Oscova Bot node. The same SIML editor used by Syn Bot Studio is now available in Oryzer Studio as well.
Walkthrough
In this walkthrough we will learn to create an SIML Modern project that maps expressions to actions within a .NET Bot project.
For the purpose of this walkthrough we will be creating an SIML Modern project that will enable simple opening and closing of calculator app in Windows OS.
Getting Syn Bot Studio
For working with SIML projects we will need Syn Bot Studio. To download please visit SimlBot.com and click on Download Syn Bot Studio.
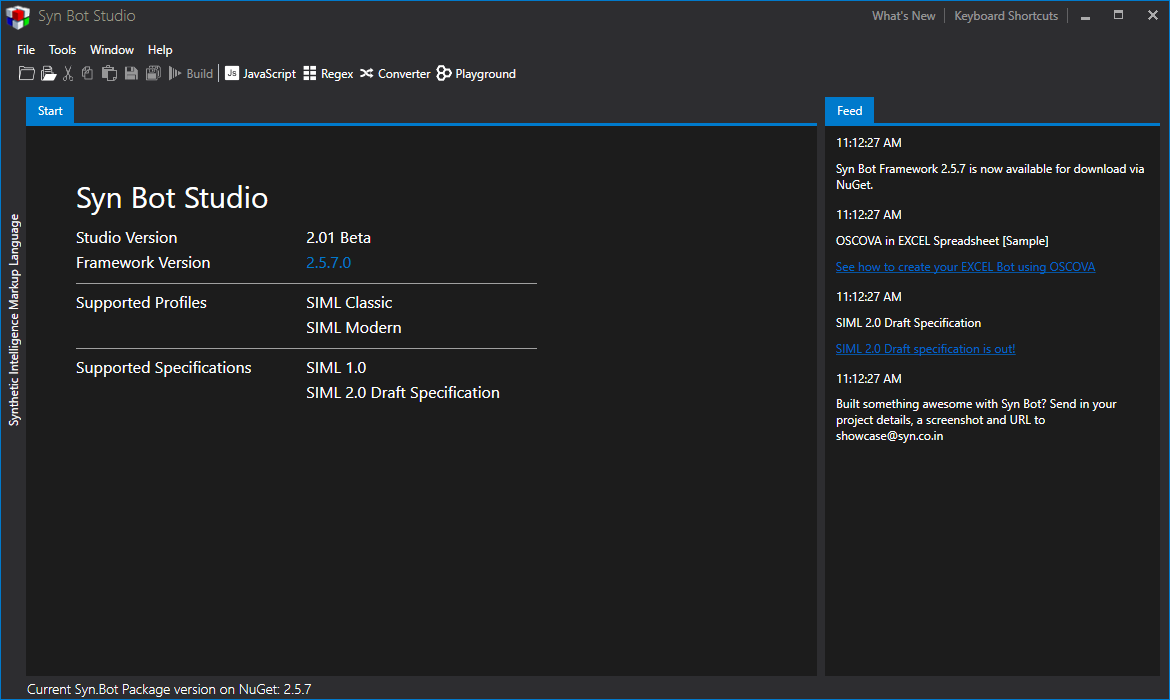
Creating an SIML Modern Project
Once you have downloaded Bot Studio. You will need to create an SIML Modern project. To create an SIML Modern project click on File, choose New and select Project....
In the new project flyout select SIML Modern under the Profile drop down list as shown below.
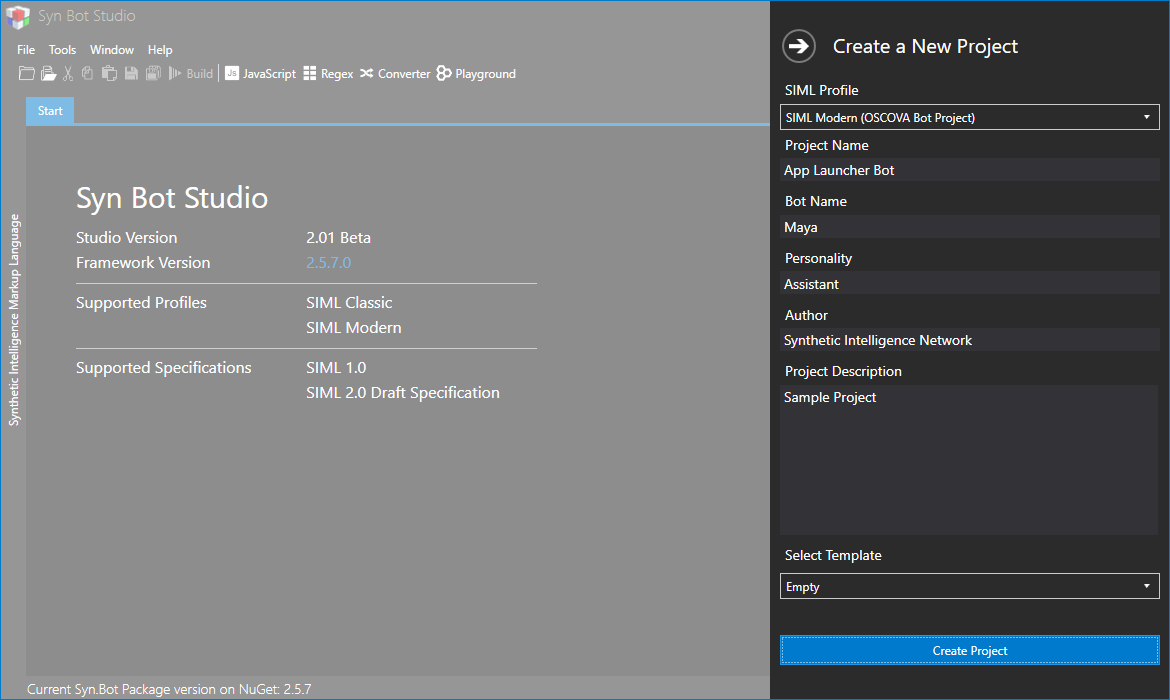
Fill in the rest of the details as you like and click on Create Project. Bot Studio will now prompt you to specify a location to save the project files. Select any directory of your choice.
The project structure will now be created and you will see a default hello file under the Explorer. Double click on the file name. You will see that this file contains an intent that responds Hello Developer! whenever the user says Hello Bot.
<Siml>
 <Dialog Name="HelloBotDialog" IntentAlias="smalltalk-greetings">
   <!--This intent does not need a name as an `IntentAlias` value has been specified-->

   <Intent>
     <Expression Value="Hello Bot" />
     <Response>Hello Developer!</Response>
   </Intent>

 </Dialog>
</Siml>
Let us go ahead and test the intent. Click on the Console tab and type hello bot. You will now see that the response Hello Developer! under the Response tab.
Creating a Dialog with Intents
To create a Dialog right click the Project folder in Explorer and select Add New File. Enter AppDialog as the file name and click OK.
The AppDialog SIML file is now created and opened in Editor. The entry point to any SIML document is within the <Siml> root element.
Let us now add a Dialog to our SIML document. Add a new Dialog element within Siml root. In the newly created Dialog element add a new attribute Name and specify a name for the dialog as shown below.
<Siml>
  <Dialog Name="appDialog">


  </Dialog>
</Siml>
The dialog structure has now been prepared. We would now add an intent for opening the calculator app.
<Siml>
  <Dialog Name="appDialog">

    <Intent Name="open-app">
    </Intent>

  </Dialog>
</Siml>
In the above code we have added a new Intent element and provided a unique name for the intent using the Name attribute.
Note
Every intent that is not a quick reply must have a unique name specified. If the intent is a quick reply then a global name for all the quick reply intents within the dialog is provided by adding an IntentAlias attribute to the parent Dialog element and specifying a name.
To add an expression simply use the Expression element declare the expression value within the Value attribute.
<Siml>
  <Dialog Name="appDialog">

    <Intent Name="open-app">
      <Expression Value="open {calc}" />
      <Entity Type="app" />
    </Intent>

  </Dialog>
</Siml>
In the above expression we have intentionally annotated the value calc and later declared an Entity and provided the type app for the annotated value.
The above code is still invalid as the intent neither has a Response or Action element specified.
Note
Every intent in SIML Modern must map to response or action. Otherwise the intent is considered invalid.
To map the intent to an action use the Action element and specify the ID of the action.
Overall Code
<Siml>
  <Dialog Name="appDialog">

    <Intent Name="open-app">
      <Expression Value="open {calc}" />
      <Entity Type="app" />
      <Action ID="open-app-action" />
    </Intent>

  </Dialog>
</Siml>
Testing the code
Once you have add the overall code within the AppDialog file. Click on the Console tab and type open calc.
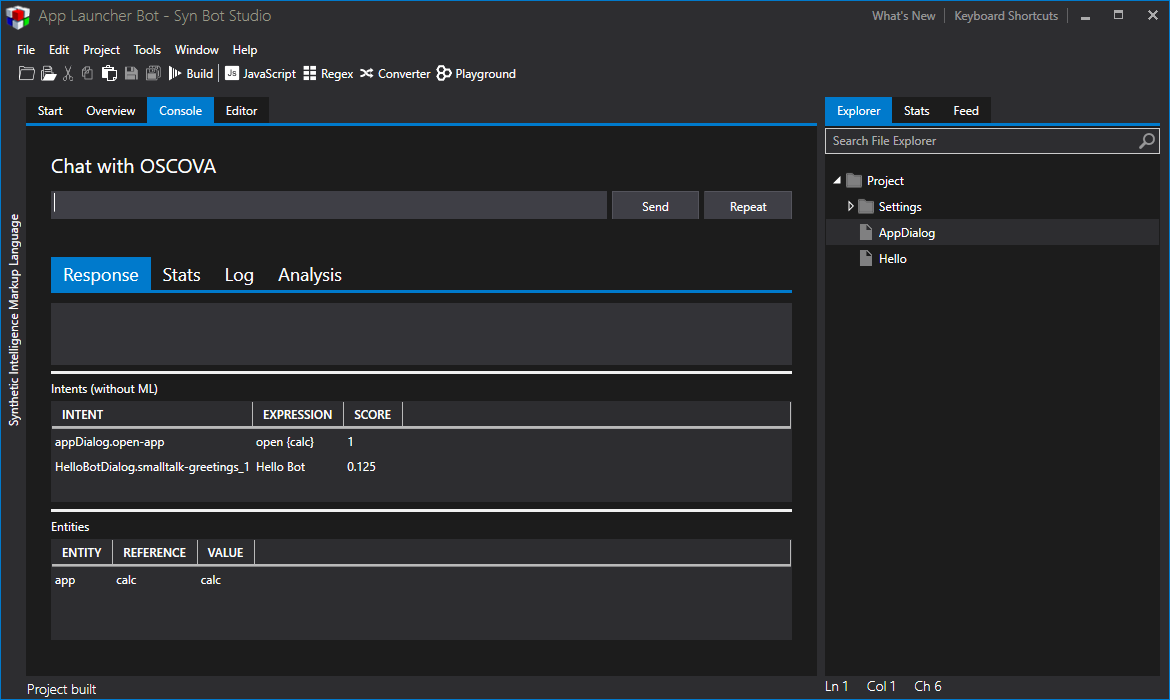
You will notice that the open-app intent has the highest score.
Note
Bot Studio by default does not process user input in Machine Learning mode as the sole purpose of SIML Modern projects in Bot Studio is fast prototyping. However, the project can be processed in Machine Learning mode in Syn.Bot framework during production.
Backend Oscova Bot with Actions
We have now prepared an SIML Modern project that will enable us to map expressions and intents written in SIML Modern to backend actions written in a C# application. In this section we will create an Oscova Bot project and import the newly created SIML Modern project.
Create a Console project
To create a Console application in Visual Studio following the steps given below.
- Start Visual Studio 2019 or above
- Select Create a new project and choose Console App
- Click Next
:video videos/create-console-app.mp4
- Name the project
OscoveBotConsoleand click OK.
Import Syn.Bot
To import via NuGet
- In Visual Studio 2019 or above click on Tools
- Choose NuGet Package Manager and select Package Manager Console
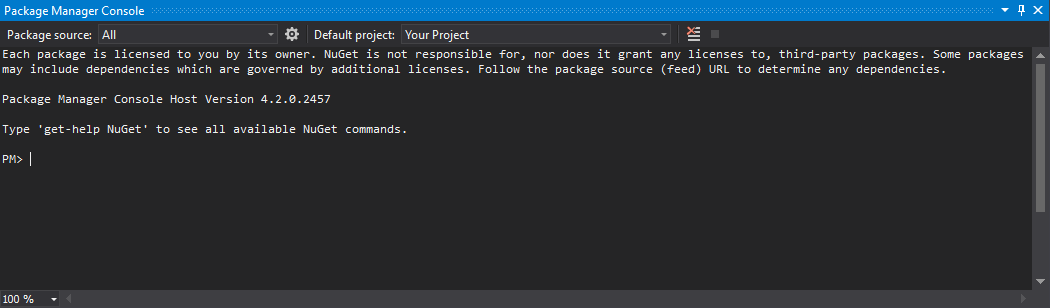
- Type
Install-Package Syn.Botand press Enter.
Creating an action dialog
To add a class file to your project:
- Right click on the project name in Solution Explorer.
- Choose Add and select New Item...
- In the Add New Item dialog select Class.
- Name the class
AppActionDialog.
Create a new action with open-app-action as shown below. All the action does is launch the process name specified as app entity.
using System.Diagnostics;
using Syn.Bot.Oscova;
using Syn.Bot.Oscova.Attributes;

namespace OscovaBotConsole
{
    internal class AppActionDialog : Dialog
    {
        [Action(ID = "open-app-action")]
        public void OpenAppAction(Context context, Result result)
        {
            var appEntity = result.Entities.OfType("app");
            Process.Start(appEntity.Value);
        }
    }
}
In Syn Bot Studio click on Project, choose Export Project and select Single SIML Document. This option will merge the entire project into a single SIML document file.
You will be prompted to specify a name and the location where the document is to be saved. Select the Debug folder of the newly created C# Console project and specify app-launcher as the file name.
Click on Program.cs in Solution Explorer. We will now be creating a new instance of OscovaBot class and will provide the AppActionDialog and import the previously saved app-launcher SIML project.
Type the following within the Program.cs file. In the code below the bot.Dialogs.Add(new AppActionDialog()); line adds AppActionDialog to Oscova's dialog collection.
The line bot.Import(XDocument.Load("app-launcher.siml")); imports the previously saved app-launcher SIML document into the Bot. This file must be located within the Debug folder of the project.
using System;
using System.Xml.Linq;
using Syn.Bot.Oscova;

namespace OscovaBotConsole
{
    internal class Program
    {
        private static void Main(string[] args)
        {
            var bot = new OscovaBot();
            bot.Dialogs.Add(new AppActionDialog());
            bot.Import(XDocument.Load("app-launcher.siml"));
            bot.Trainer.StartTraining();

            Console.WriteLine("Training Completed");

            while (true)
            {
                var request = Console.ReadLine();
                var evaluationResult = bot.Evaluate(request);
                evaluationResult.Invoke();
            }
        }
    }
}
Press F5 to start the console application. Once the application is ready type open calc and the calculator app must be launched.
Congratulations! You have successfully mapped intents in SIML Modern project to actions declared within your Bot application.
To learn more about other SIML Modern elements not discussed in this walkthrough please go through the SIML Modern section.